Mastering the Art of Food Photography: Tips, Tricks, and Techniques
By Anttoni Taimela · 31. January 2024
Struggle with making your culinary captures as tantalizing as the dishes themselves?
Step into the world of food photography📸: where every shot is an opportunity to feast with the eyes.
This guide strips away the complexities to present straightforward, actionable advice and insights crucial for nailing that perfect food shot, catering to eateries, bloggers, and photography enthusiasts alike.
Key Takeaways
- Food photography isn’t just eye candy; it’s storytelling that spices up branding and tickles taste buds across the globe.
- Master the gear to get the culinary glam shot—sharp prime lenses, sturdy tripods, and props that scream ‘eat me!’
- Light up those veggies and make that sauce glisten—commandeer the light, whether it’s the natural glow or the artificial mojo.
The Importance of Food Photography
 food
food
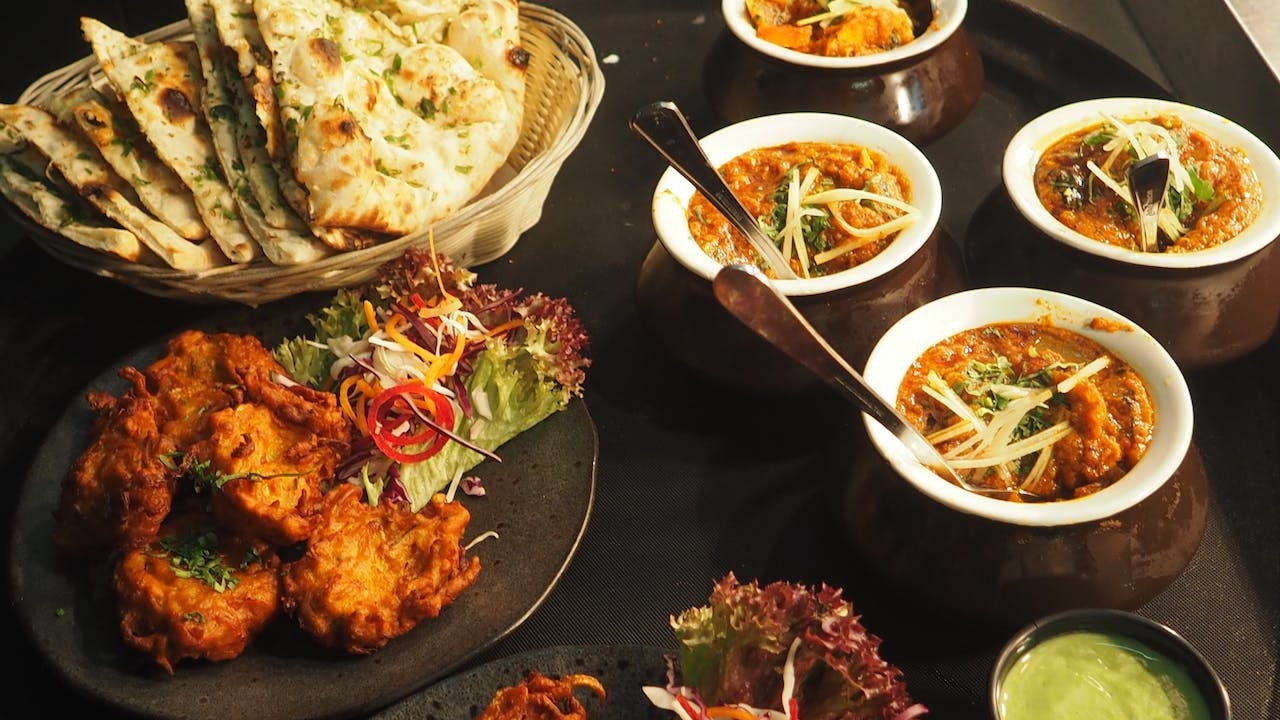
Food photography occupies a prestigious position in the culinary world.
It’s not just about clicking pictures of aesthetically pleasing dishes; it’s a captivating form of visual storytelling that enables chefs and culinary professionals to flaunt their expertise and ingenuity.
Embarking on a food photography journey can stir emotions, ignite a craving for the food, and captivate customers globally.
Have you ever been tantalized by a picture of a juicy burger or a creamy pasta? That’s the power of food photography!
For the restaurant industry, food photography works like magic. It conjures up visually delicious images that lure in customers, boost sales, and elevate the dining experience.
It’s a powerful branding tool that leaves a positive impression and maintains a consistent visual identity across various platforms.
So, if you’re thinking of stepping into the restaurant business or you’re a chef looking to showcase your culinary skills, mastering food photography can greatly enhance your restaurant’s marketing efforts and overall appeal.
Moreover, food photography adds zest to the culinary arts world.
It weaves a captivating story that lures in the audience, showcasing the tantalizing textures and vibrant colors of the food, stirring up emotions and appetites, and tempting viewers to savor the dish.
So, if you’ve ever been mesmerized by a food photograph and felt an irresistible urge to dig in, you’ve experienced the power of food photography📸.
Essential Camera Equipment for Food Photography
Diving into food photography requires specific essential gear. First up, the camera!
DSLR and mirrorless cameras are the preferred choices for capturing those delicious dishes.
Models like Sony A7R IV, Nikon Z7 II, and Nikon D850 are popular among food photographers for their top-notch image quality and video capabilities.
Prime lenses prove to be the best choice for capturing food shots. Why, you ask?
Well, they offer a smaller aperture for dimly lit settings, provide sharper images than zoom lenses, and deliver top-notch image quality.
And let me tell you, when it comes to food photography, capturing those fine details is absolutely crucial.
The next essential item is the modest tripod. When choosing a tripod for food photography, the type of tripod head is crucial.
Opt for a 360° rotating ‘ball’ head or a pan-tilt head to capture those mouthwatering angles and compositions that make your food images look absolutely delectable.
Lastly, we cannot forget about the role of props. In the world of food photography, props are your supporting actors.
They set the scene and make the food pop visually. Some examples of props to consider are:
- Neutral backgrounds
- Textured fabrics
- Wooden accents
- Old utensils
- White ceramic plates
- Vintage cutlery
- Marble boards and trays
- Glass jars
- Salad dressing bottles
- Napkins
- Cake stands
- Shallow bowls
These little beauties help set the scene and make the food pop visually.
Understanding Lighting in Food Photography
Ever been enticed by food shots in lifestyle magazines?
The secret lies in the lighting! Shooting food photography is all about mastering the use of light.
Lighting in food photography is like the secret ingredient that makes the food look irresistible and directs your gaze to the most delicious parts.
It enhances the food’s texture and shape to make it look even more mouthwatering.
The golden hours for food photography are usually in the morning or late afternoon, when the light is delightfully soft and warm.
But what if natural light is not available? Fear not! Artificial lighting can be used to create a similar effect and help you capture stunning images of your culinary subjects.
Artificial light emerges as the unsung hero of food photography, acting as a reliable light source.
It swoops in when you need to banish natural light and take charge of the lighting game, even in situations with direct sunlight.
It offers consistency and the power to call the shots on timing and location.
So whether you’re shooting in a dimly lit restaurant or a sunny outdoor cafe, you’ve got the power to control the light and make the food shine.
Composition Techniques for Captivating Food Photos
 food
food
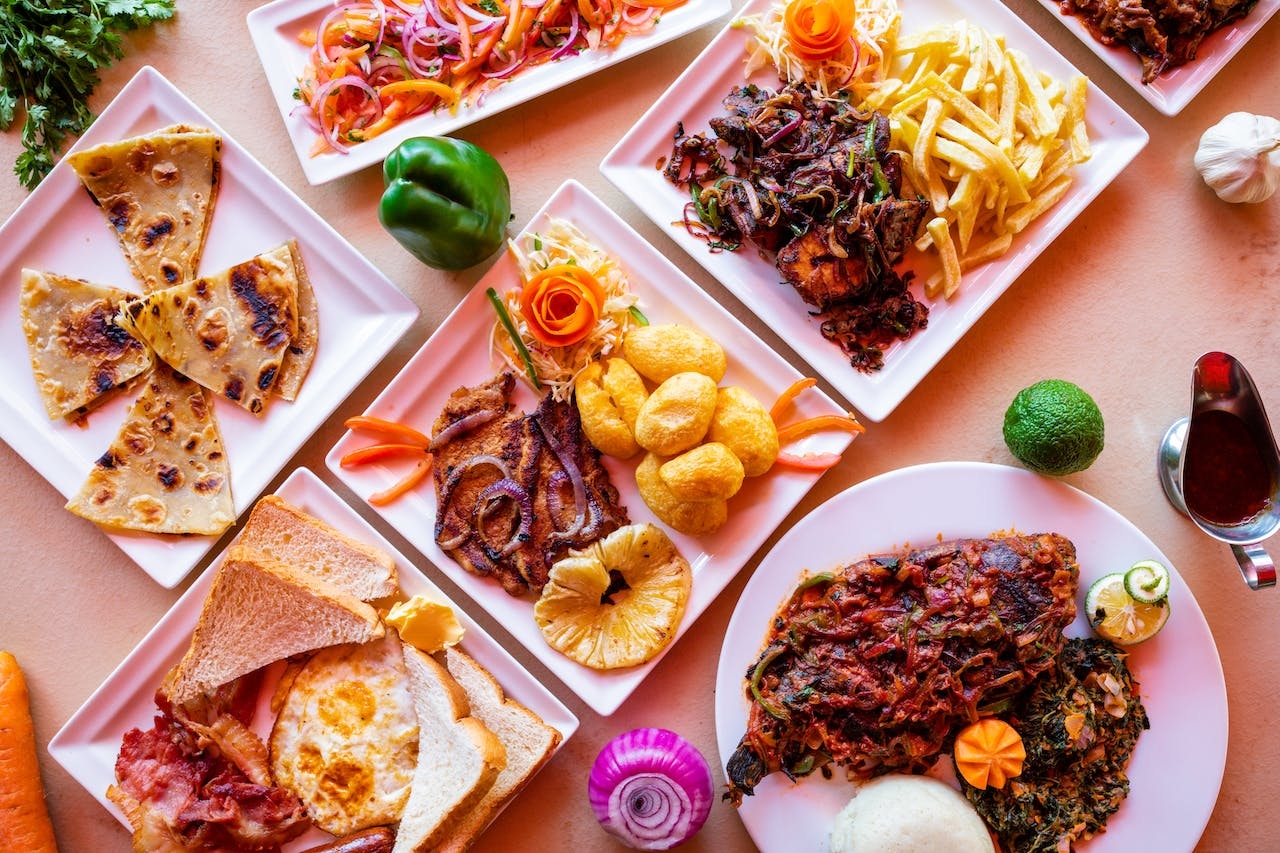
A good camera and perfect lighting alone do not make great food photography; composition plays an equally important role.
How you arrange the elements in your photo can make a huge difference in the final image.
To ensure the best results, avoid camera shake while capturing your food photos.
Now, it’s time to explore these composition techniques in more detail.
Framing and Angles
In food photography, framing acts as the secret sauce, adding focus, depth and impact to the images. It’s all about creating visual interest, guiding the viewer’s eye, and making that food look irresistible.
Expert food photographers have a few food photography tricks under their belts when it comes to photographing food.
They use elements within the scene to make the main subject stand out and frame the dish with ingredients for that extra depth.
They also place items in the foreground to add visual oomph and avoid issues like food create harsh reflections that can detract from the beauty of the photograph food.
But framing is just one part of the equation! Angles is where the real magic happens.
Overhead shots give us the big picture, 45-degree angles add depth, and close-ups bring out all the delicious details. It’s all about making that dish shine!
Using Negative Space
Let’s acknowledge the often overlooked component of food photography – negative space. It’s the stylish blank canvas around the main dish, adding a touch of sophistication and making the food pop.
Negative space can work wonders by putting the spotlight on the star dish and adding a touch of serenity to the photo.
But be careful not to overdo it! Overdoing the negative space can leave your image feeling empty and off-kilter.
Incorporating Color and Texture
Color and texture can serve as the final touch to your food photography.
They add depth, interest, and a sense of realism to the images.
You can add a dash of color theory to your food photography by pairing complementary colors to stir up various emotions. And texture?
Texture can totally jazz up food photography by creating a textured effect in the background and foreground using depth of field.
To make your images look so real they practically jump off the screen, it’s all about:
- capturing the true colors and textures of the food
- using the perfect mix of shadows and highlights
- adding a touch of textiles for that extra oomph of context and emotion.
Styling Tips for Professional Food Photography
 food
food
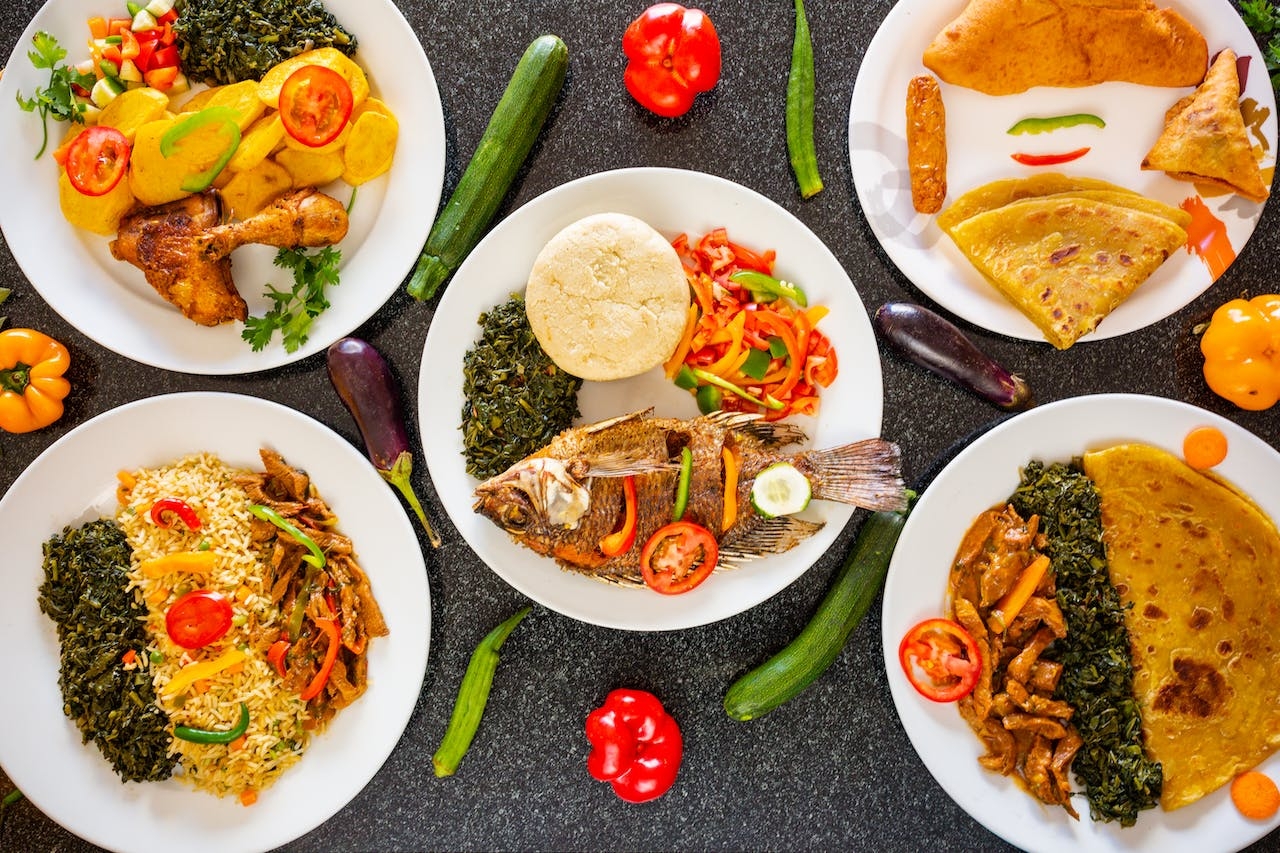
Similar to a chef plating a dish meticulously, a food photographer has to style the food to enhance its visual appeal.
Using fresh ingredients, adding layers and textures, and incorporating props can all enhance the final image.
Styling in food photography isn’t limited to the food, it extends to the props as well.
Picking the right props is like finding the perfect accessory for an outfit – they should complement without stealing the show. Some examples of props that can add charm and visual appeal to your food images are:
- Thin-wall glasses
- Vintage teacups
- Wooden accents
- Antique books
- Or even your restaurants own branded packaging
Keep in mind, freshness is paramount! Wilted salads or soggy sandwiches are far from appealing.
Always use the freshest ingredients and add them at the last moment to keep them looking their best.
Post-Processing Techniques for Polished Food Images
Once the photos are captured, it’s time to refine them to perfection. Post-processing techniques such as adjusting exposure, color balance, and sharpening can enhance your images and make them look even more professional.
Balancing color in your photos🌄 equates to presenting a spa day on a plate.
It’s all about making those images look natural and mouth-watering by using the right white balance techniques.
Do you know what can lend a more polished and defined look to your food photos?
The answer is sharpening! It adds some extra oomph to those pixels, especially around the edges.
Aiming to make your images appear even more mouth-watering? Try the following techniques:
- Get rid of pesky distractions like crumbs and dust
- Tweak noise levels
- Add fancy vignettes
- Play around with contrast, saturation, and sharpness
These techniques will help enhance the visual appeal of your images.
Building a Strong Food Photography Portfolio
A robust food photography portfolio acts as a platform to display your distinctive style and draw potential clients or collaborations.
A top-notch food photography portfolio should offer a wide range of food types and shooting styles, all woven together to tell a mouthwatering story of your skill and style.
A high-quality food photography portfolio can boast a range of 12 to 40 images, varying with the source. Aim for around 15 to 20 photos in your portfolio to showcase a larger body of work.
Wondering where one can display their enticing food photography portfolios online?
Here are some of the best platforms to consider:
- Zenfolio
- Pixpa
- Wix
- Squarespace
- Pixieset
- Photoshelter
- Adobe Portfolio
- Format
- Showit
- Photofolio
These platforms are considered the cream of the crop for showcasing your food photography.
Learning from Expert Food Photographers
Believe it or not, even the most successful professional food photographers had a starting point.
Learning from expert food photographers can provide valuable insights, tips, and inspiration for improving your own food photography skills.
Game changers in the field of food photography📷 include renowned names like:
- Nobuyoshi Araki
- Nan Goldin
- Martin Parr
- Man Ray
- Cindy Sherman
- Wolfgang Tillmans
- Weegee
Studying their work can provide valuable insights into their techniques, styles, and creative perspectives.
As per the professionals, the key lies in:
- creating a captivating narrative through your photos
- ensuring the food looks photogenic
- mastering the lighting
- learning some techniques from experts like Matt Armendariz
So, why not take a leaf out of their book and up your food photography game?
Overcoming Common Challenges in Food Photography
Challenges are a part and parcel of every photographer’s journey.
Overcoming these hurdles can result in more engaging and professionally polished images.
Lighting is a common challenge encountered in food photography.
But with the right techniques, even the most challenging lighting situations can be overcome.
Composition poses as another hurdle. The rule of thirds is a great tool for creating more organized and visually appetizing food compositions.
And don’t forget about angles! By shaking up your angle, you can serve up a whole new look for your food.
Turning unattractive food into a visual delight is another common challenge in food photography.
But with the right techniques, even a less-than-camera-ready dish can look irresistible.
So, the next time you encounter a challenging shoot, keep these food photography tips in mind to enhance your skills.
Summary
It’s been quite a journey, hasn’t it? From understanding the importance of food photography to learning about the essential equipment, lighting techniques, composition, styling, post-processing, and even building a strong portfolio, we’ve covered a lot of ground.
But remember, every great food photographer started at the beginning and faced challenges along the way.
So don’t be discouraged if you don’t get it right the first time.
Keep practicing, keep learning, and most importantly, keep having fun.
Because at the end of the day, that’s what food photography is all about – capturing the joy of food!
Frequently Asked Questions
What is the best way to photograph food?
The best way to photograph food is to hold your camera steady, use a tripod with a remote, and adjust your shutter speed and ISO for better lighting.
Taking a variety of angles and using the right props can also make your food photos pop!
What is food photography called?
Food photography is commonly known as “food styling” or “food photography.” So, go ahead and style that food like a pro!
Why is food photography difficult?
Food photography is difficult because it’s tricky to balance lighting to showcase the ingredients without overexposing the picture.
But, using simple props like black or white card can help control the lighting. Cheers!
What are the elements of food photography?
In food photography, consider playing with angles, colors, props, and depth of field to create captivating compositions that make your audience crave the dishes.
Get creative and experiment with different backdrops, surfaces, and orientations to make your photos stand out.
What is the importance of food photography?
Food photography is crucial in the culinary world as it showcases creativity, influences consumer behavior, and plays a vital role in branding and marketing efforts for restaurants and chefs.
So next time you see a mouth-watering food photo, remember its impact!

